Disclosure: We may earn a commission when you buy through links on this page, at no extra cost to you. We buy nothing, sell nothing and accept no payment for coverage — commissions never decide what we recommend. How we make money.
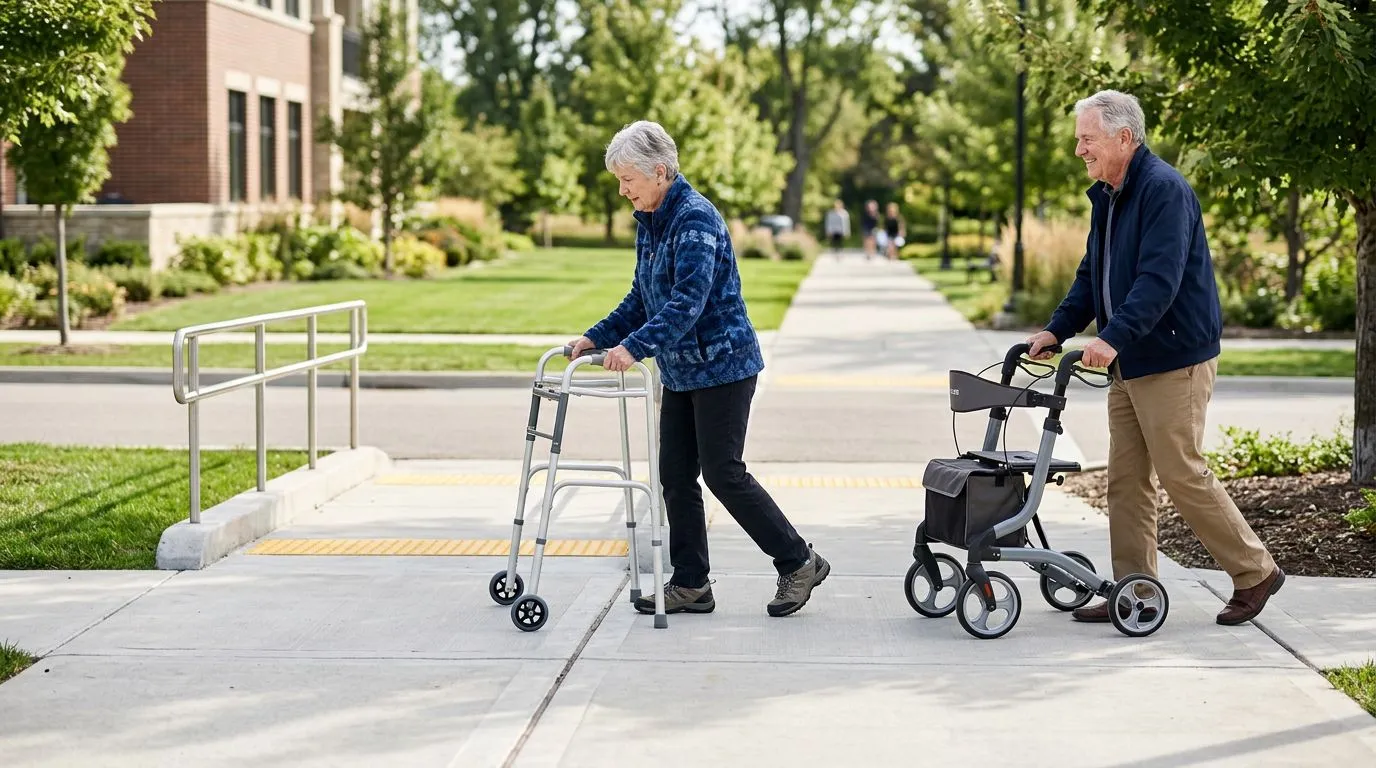
To use a mobility walker outdoors more safely, match the device to the surface, take short steps, and do not rush on curbs, ramps, gravel, grass, or wet pavement. Standard walkers provide more weight-bearing support but move more slowly outside, while rollators are easier over longer distances but require good brake control and should not be used like a wheelchair or shopping cart.
This guide covers practical outdoor techniques for walkers and rollators, including when large wheels help and when they do not. If you have had a recent fall, surgery, stroke, balance change, or new pain, ask a physical therapist or clinician to watch you practice before you depend on any walker outdoors.
Outdoor walker basics: the 3 rules before you leave the door
Outdoor walking adds challenges you may not notice indoors: a 1-inch sidewalk lip, a sloped driveway, loose pea gravel, a wet painted curb, or grass that hides a hole. Before every outdoor trip, follow 3 rules: check the surface, control the device, and keep your body close to the frame.
First, look 6 to 10 feet ahead instead of staring only at your feet. That gives you time to notice puddles, cracks, leaves, acorns, hose lines, and uneven pavers. Second, make sure all walker tips, wheels, and rollator brakes are working before you step outside. Worn rubber tips can slide on wet concrete, and loose rollator brakes can make a downhill ramp unsafe.
Third, do not reach too far forward. With a standard walker, folding walker, or two-wheel walker, place the frame a short distance ahead, then step into it. With a rollator, walk between the rear wheels or just behind the handles, not with your arms stretched straight out. A simple cue helps: if your shoulders are leaning forward more than a few inches, you are probably too far from the walker.
Walkers vs. rollators outdoors: 6 features that change the technique
Walkers and rollators are related, but they are not the same outdoor tool. A walker usually means a standard frame, folding frame, no-wheel walker, or two-wheel walker. A rollator is a wheeled walker with 3 or 4 wheels, hand brakes, and usually a built-in seat. Technique changes because the device changes how much support, speed, and braking control you have.
| Type | Outdoor strengths | Outdoor cautions | Who it may suit |
|---|---|---|---|
| Standard or folding no-wheel walker | Very stable when placed flat; helpful for weight-bearing support | Must be lifted each step; can catch on uneven ground; slow over distance | People who need maximum stability for short outdoor distances |
| Two-wheel walker | Front wheels roll over small cracks better than rubber tips; rear legs add braking by contact | Rear tips may drag on gravel or grass; not ideal for steep slopes | People who need support but do not want to lift the entire walker every step |
| 3-wheel rollator | Narrower turning; easier in tight outdoor paths | Usually no full seat; less stable than many 4-wheel designs | People with good brake awareness who need maneuverability |
| 4-wheel rollator | Seat for rest breaks; smoother over sidewalks; common 6- to 8-inch wheels | Can roll away if brakes are not controlled; not for heavy weight-bearing | People with endurance limits who can safely use hand brakes |
| Upright or stand-up rollator | Higher forearm support may encourage a more upright posture | Larger frame can be harder on narrow ramps or crowded sidewalks | People who are prescribed or trained to use forearm support outdoors |
| Bariatric walker or rollator | Wider frame and higher weight capacity, often 300 lb, 400 lb, or more depending on design | May be heavier to lift into a car and harder to turn in tight spaces | People who need a device rated for their body weight and proportions |
The biggest safety difference is braking. A standard walker stops when you stop moving it. A rollator keeps rolling unless your hands control the brakes or the parking brakes are locked. Rollators can be useful for longer outdoor walks, but training is essential on ramps, curb cuts, and wet surfaces.
Who this outdoor training is best for: 3 common situations
This guide is especially useful for 3 groups: people leaving the house more often after using a walker indoors, rollator users who want to walk farther in the neighborhood, and shoppers searching for rough-terrain or large-wheel mobility walkers. Each group needs realistic expectations.
If you use a standard or folding walker inside, begin outdoor practice on short routes, such as the 20 to 40 feet from your front door to the mailbox or car. No-wheel walkers can feel secure, but repeatedly lifting the frame on rough pavement can tire your arms and shoulders.
If you use a rollator, focus your training on brake timing, speed control, and surface changes. A rollator seat can be valuable during a 10-minute walk, but it should only be used when the rollator is parked on level ground with the brakes locked. Never sit on a rollator while another person pushes you unless the device is specifically designed and rated for transport use, which most standard rollators are not.
If you are looking for a rough-terrain walker, be clear about what that phrase usually means. Larger wheels, often 8 inches or more on rollators, can help with cracks, packed dirt, and short grass. They do not automatically make deep gravel, mud, steep hills, ice, or uneven fields safe.
How to choose and measure for outdoor use: wheels, height, and weight capacity
Outdoor safety starts with fit. When you stand tall in your usual walking shoes, the walker or rollator handles should generally line up near the crease of your wrist when your arms hang at your sides. Your elbows should bend slightly, often around 15 to 30 degrees, when your hands are on the grips.
For wheels, size matters, but it is not the only factor. Many indoor-style walker wheels are about 5 inches. Many outdoor-friendly rollator wheels are 6 to 8 inches, and some large-wheel rollators use 10- or 12-inch wheels. Larger wheels may roll over sidewalk seams more easily, but they can also add weight, length, and turning radius.
| Feature | What to check | Why it matters outdoors |
|---|---|---|
| Handle height | Adjust in small increments, often 1 inch at a time | Too low encourages leaning; too high reduces arm control |
| Wheel size | Compare 5, 6, 8, 10, and 12 inch options by type | Bigger wheels help with cracks and packed surfaces but may be bulkier |
| Brakes | Squeeze and lock both sides before every trip | Critical for ramps, curb cuts, parking lots, and sitting on a rollator |
| Weight capacity | Use a device rated above your body weight plus carried items | Overloading can affect frame strength, braking, and stability |
| Seat height on rollators | Commonly around 20 to 23 inches, but it varies | A seat that is too low may be hard to stand from outdoors |
| Foldability | Practice folding and lifting before relying on car trips | Some outdoor rollators are heavier than basic walkers |
Check width, too. A wider bariatric rollator may feel steadier, but it still has to fit through your door, along your walkway, and beside your vehicle. Measure the narrowest point you use regularly. A 2-inch clearance on each side can make a big difference when your balance is challenged.
Training on curbs and thresholds: practice 2-inch steps first
Curbs are among the most common outdoor obstacles. Start with a low threshold or a 2-inch practice step before trying a standard curb, which is often around 6 inches high. Practice with a helper nearby, especially the first few times.
Using a standard walker or two-wheel walker on a curb
To go up, approach the curb straight on. Bring your toes close to the curb, place or lift the walker onto the higher surface, make sure all legs or wheels are stable, then step up with your stronger leg first unless your therapist has taught you a different pattern. Bring the other leg up and pause before continuing.
To go down, move to the edge slowly. Place the walker down on the lower surface first, making sure it is level and not caught on the curb edge. Step down with the weaker or more painful leg first, then bring the stronger leg down. The common therapy cue is up with the good, down with the bad, but personal instructions can vary after surgery or injury.
Using a rollator near a curb
With a rollator, the safest option is usually a curb cut or ramp rather than a full curb. If you must handle a small curb, stop, square your body to the curb, and control both brakes. Some users are trained to tip the front wheels up slightly, but this requires strength, balance, and instruction. Do not let the rollator pull you forward off the curb.
Avoid diagonal curb attempts. If one wheel drops before the others, it can twist the frame and your body. In parking lots, watch for 1- to 2-inch pavement lips at curb ramps; they are small enough to miss visually but large enough to stop a small wheel.
Ramps and slopes: use a 1:12 ramp as your reference
A common accessibility guideline is a 1:12 ramp slope, meaning 1 inch of rise for every 12 inches of ramp length. Even that can feel demanding with a walker or rollator, especially if the ramp is long, wet, or crowded. Treat every ramp as a place to slow down.
With a standard walker, keep the frame close and level. Take short steps and avoid pushing the walker too far uphill. On the way down, place the walker a small distance ahead and step carefully into it. If the walker starts to feel like it is pulling you downhill, stop and ask for help.
With a rollator, keep your hands on the brakes. Going uphill, use gentle brake pressure if the rollator gets ahead of you. Going downhill, take short steps and apply steady braking instead of quick, jerky squeezes. Never sit on a rollator seat on a ramp or slope, even with parking brakes locked. Brakes are designed to help control the device, not to guarantee that a seated person will remain safely parked on an incline.
Side slopes are often harder than straight ramps. A driveway that drops 2 or 3 inches from one side to the other can pull a rollator sideways and make a walker uneven. When possible, take the flattest route, even if it adds a minute to the trip.
Gravel, grass, and uneven ground: slow down to 6-inch steps
Loose and soft surfaces change everything. On gravel or grass, shorten your steps to about 6 inches or less, keep your feet wider than usual, and pause often. If your device sinks, skids, or catches, turn back before you are tired.
Standard walkers are usually difficult on loose gravel because the rear tips can dig in and the frame may not sit level. Two-wheel walkers may roll at the front but still drag at the back. If you must cross a short gravel strip, look for the most packed path, keep the walker close, and avoid lifting it high.
Rollators with larger wheels can work better on packed gravel and firm grass, but loose stone remains risky. Small front wheels may swivel suddenly when they hit a rock. Larger 8- to 12-inch wheels can reduce this problem, but they do not eliminate it. The safest rollator route across gravel is short, flat, firm, and dry.
Grass hides holes, roots, sprinkler heads, and soft spots. After rain, even a level lawn can become slippery or spongy. If you are attending an outdoor event, call ahead and ask whether there is a paved path, firm matting, or a drop-off area within 50 feet of the entrance. Planning is not overcautious; it is how many walker users stay active outdoors.
Wet surfaces and weather: the 10-second safety check
Before stepping onto wet pavement, take 10 seconds to check 4 things: your rubber tips, your wheels, your brakes, and the surface shine. Shiny concrete, painted lines, metal plates, wet leaves, and smooth tile at building entrances can be much slicker than ordinary sidewalk.
For standard walkers, worn tips are a major concern. If the bottom of a rubber tip is smooth, cracked, or uneven, replace it before relying on it outdoors. For two-wheel walkers, check both rear tips and front wheels. A wheel that sticks can stop suddenly at the worst time.
For rollators, squeeze the brakes before leaving home and again before using a ramp, curb cut, or seat. If one brake grabs harder than the other, the rollator may pull to one side. Wet hands can also slip on grips, so dry your palms or wear gloves with good traction in cold rain.
Weather can change your route. Snow, ice, mud, and wet leaves are high-risk surfaces for both walkers and rollators. If you must go out, use cleared paths, allow extra time, and consider having another person nearby. Pride should never be the reason to cross an unsafe surface.
A 14-day practice plan for safer outdoor walker use
Skill improves with short, repeated practice. A 14-day plan can help you build confidence without turning one outdoor walk into an exhausting test. Keep sessions brief, around 5 to 15 minutes, and stop before fatigue changes your posture.
- Days 1 to 2: Practice on a flat indoor surface near the door. Check handle height, posture, and turning.
- Days 3 to 4: Walk on a flat driveway or smooth sidewalk for 5 minutes with a helper nearby.
- Days 5 to 6: Practice stopping, turning, and looking ahead 6 to 10 feet. Rollator users should practice gentle brake pressure.
- Days 7 to 8: Practice a low threshold or 2-inch change in level. Do not attempt a full curb until the small step feels controlled.
- Days 9 to 10: Try a short ramp or curb cut in dry weather. Focus on slow steps and keeping the device close.
- Days 11 to 12: Test a small patch of packed gravel or firm grass only if your device is appropriate and you have help.
- Days 13 to 14: Combine skills on a real route, such as home to car, car to clinic entrance, or sidewalk to mailbox.
Keep notes after each practice: where you felt steady, where the walker caught, and when you became tired. If the same problem happens twice, such as the rollator rolling too fast downhill or the walker tips catching on sidewalk seams, adjust the route, device, or technique before going farther.
FAQ: 5 outdoor walker and rollator questions
Are large-wheel walkers better for rough terrain?
Large wheels can help, especially on rollators used over sidewalk cracks, packed dirt, or firm grass. They are not a guarantee of safety on loose gravel, mud, steep slopes, snow, or uneven fields. Consider wheel size along with brakes, frame fit, weight capacity, and your balance.
Is a walker or rollator safer outside?
It depends on your needs. A standard walker is often more stable for people who need weight-bearing support, but it is slower and harder to lift outdoors. A rollator is easier for distance and often includes a seat, but it requires reliable hand braking and balance control.
Can I use a rollator seat anywhere outdoors?
No. Use the seat only on firm, level ground with the parking brakes locked. Avoid sitting on a slope, ramp, soft grass, gravel, or wet surface. Make sure your feet can rest securely and that you can stand up without the rollator moving.
What should I do if my walker gets stuck on a crack or stone?
Stop first. Do not yank the walker while stepping forward. Regain your balance, move your feet closer if safe, then reposition the walker with small controlled movements. If it keeps catching on the same route, choose a smoother path or ask a professional whether a different walker or rollator type is appropriate.
How often should I check walker tips and rollator brakes?
Do a quick check before every outdoor trip. Look for smooth or cracked rubber tips, loose wheels, debris in the wheel path, and brakes that do not hold evenly. A more detailed check every few weeks is wise if you walk outdoors often.
Keep reading
Related guides
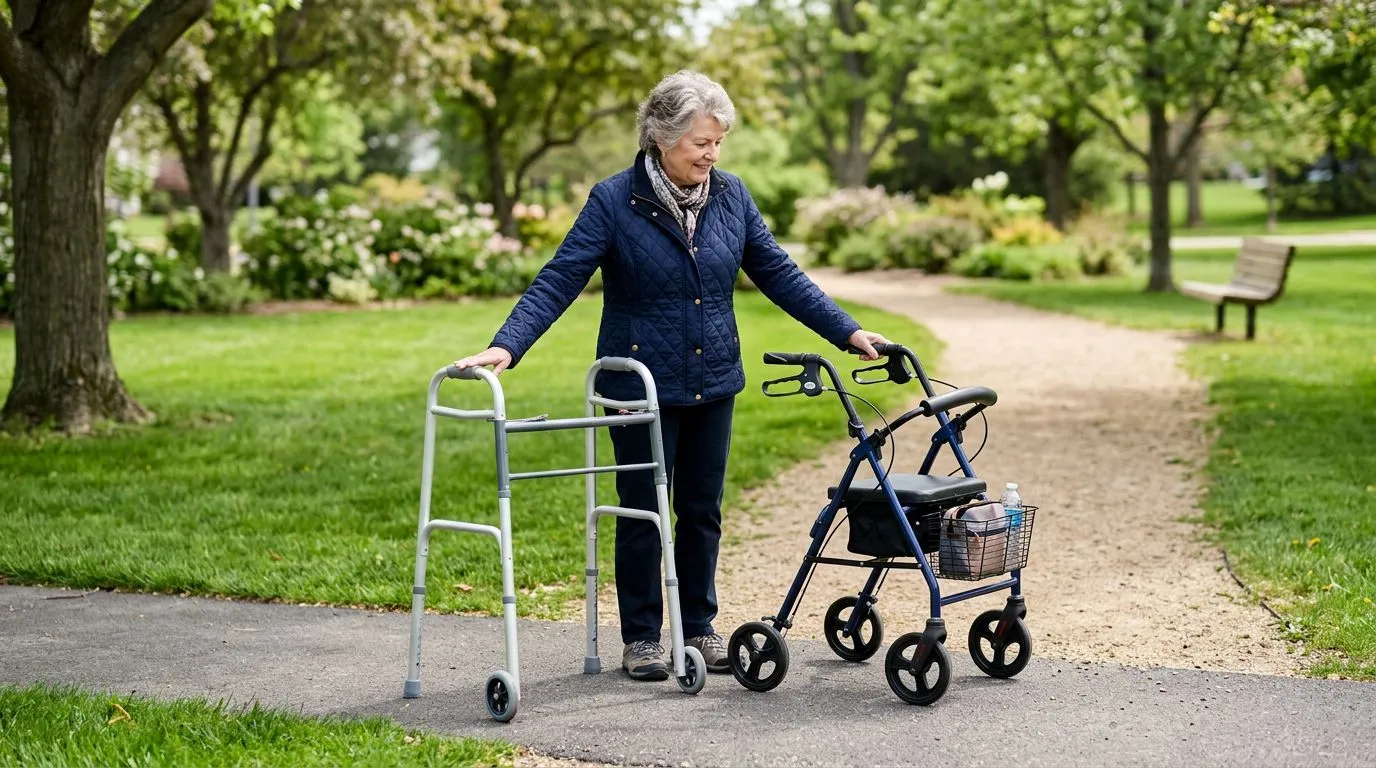
All-Terrain Walkers and Rollators: What Works for Sidewalks, Grass, Gravel, and Uneven Ground
12 min read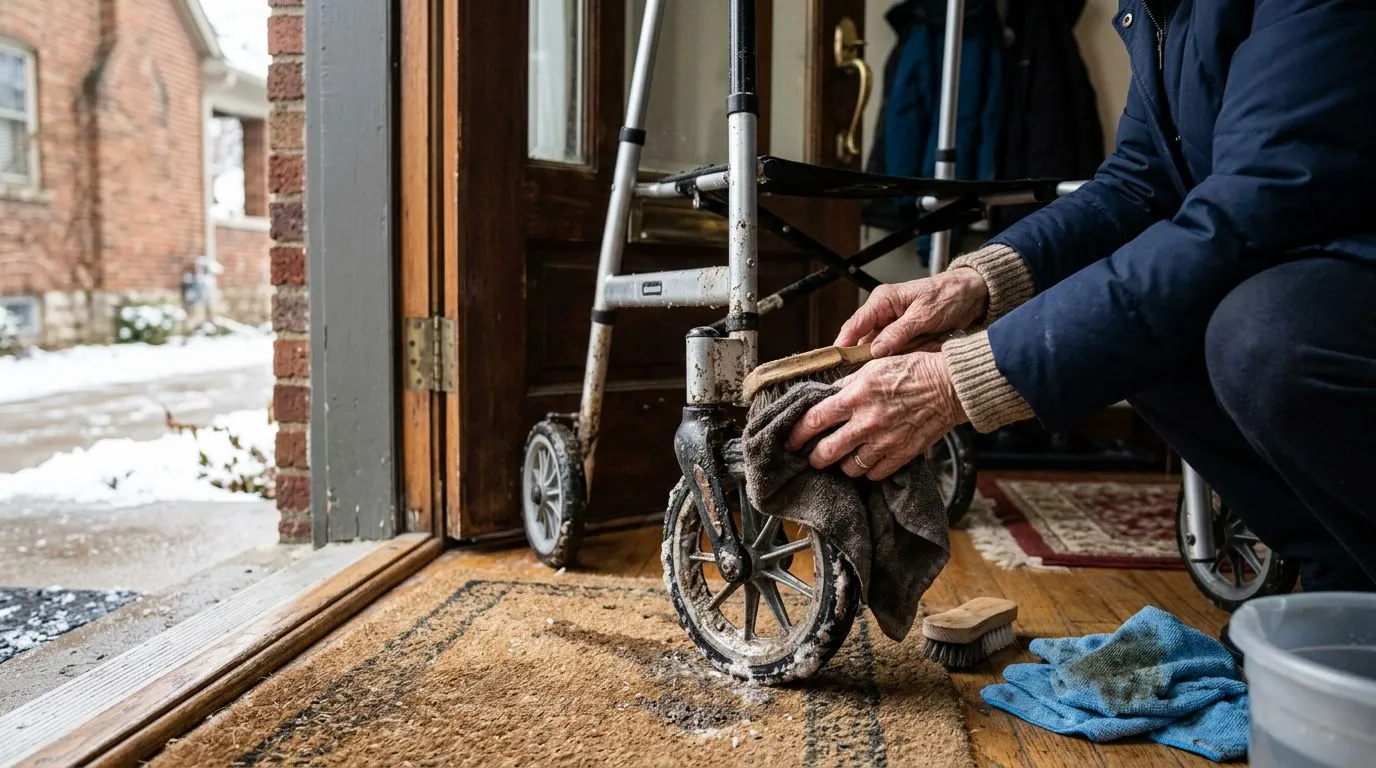
Outdoor Walker Care: Cleaning Mud, Rain, Road Salt, and Rust Before They Cause Damage
14 min read
How to Use a Walker or Rollator Safely: Basic Training for Seniors and Caregivers
14 min read