Disclosure: We may earn a commission when you buy through links on this page, at no extra cost to you. We buy nothing, sell nothing and accept no payment for coverage — commissions never decide what we recommend. How we make money.
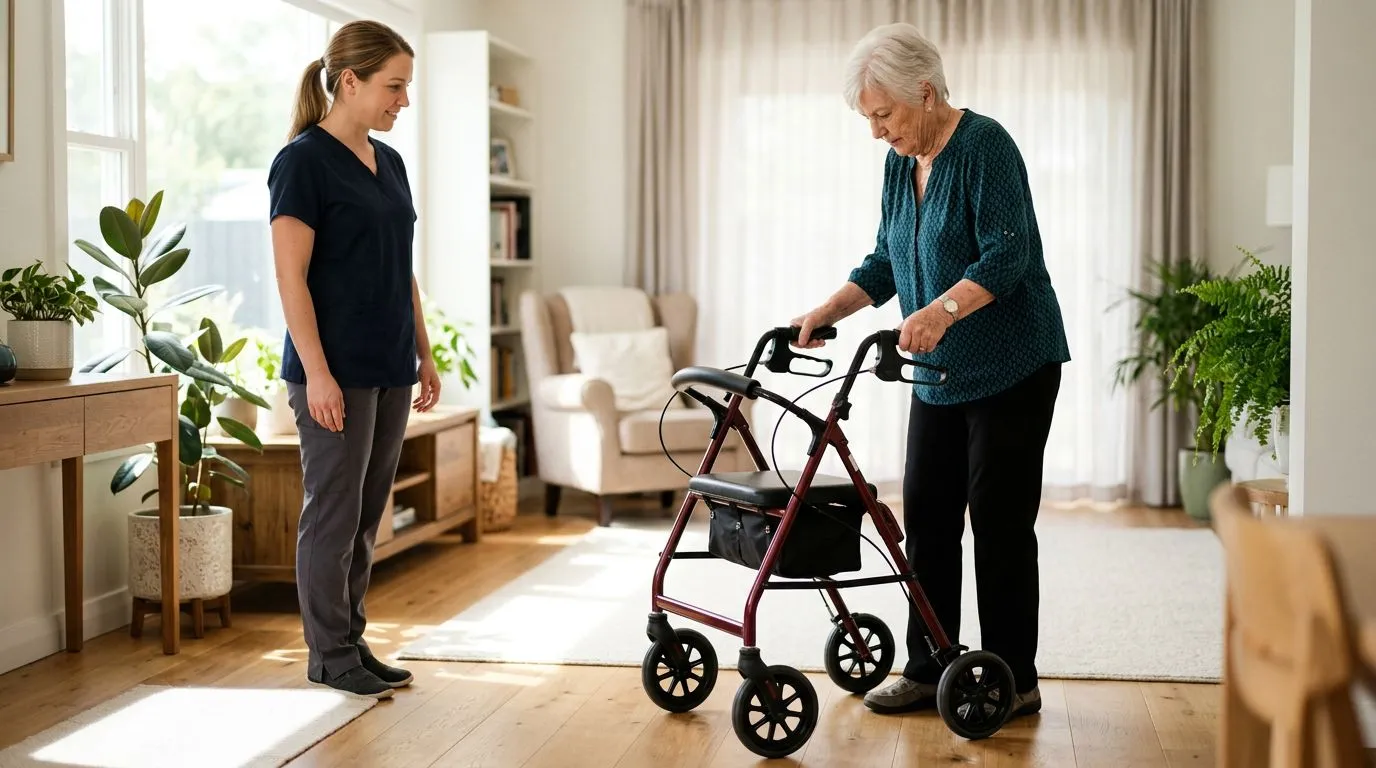
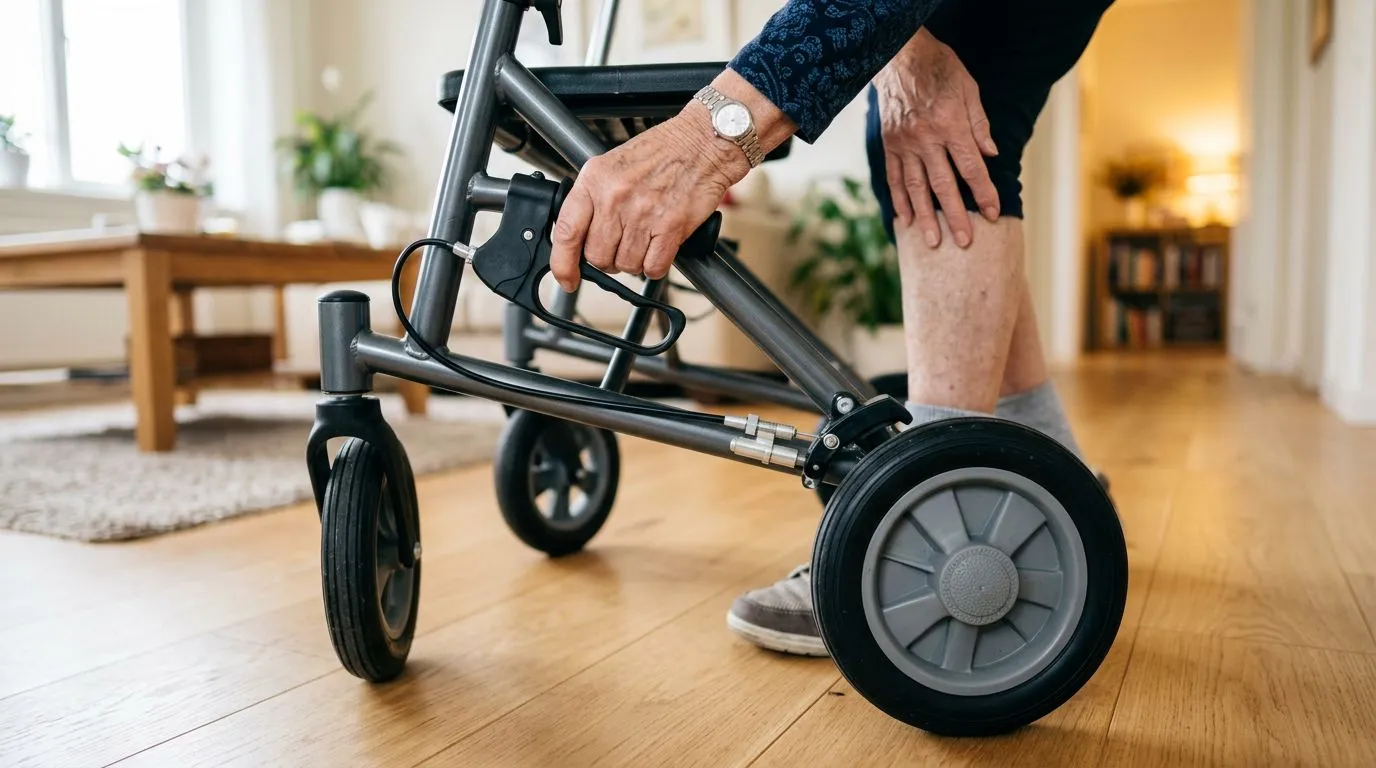
Rollator brakes should stop the rolling wheels when you squeeze both hand levers and keep the rollator still when you push the parking locks down. The safest routine is straightforward: test the brakes before each outing, lock them before sitting or standing, and stop using the rollator if a brake slips, squeals, sticks, or feels uneven.
This guide focuses on safe habits and user checks, not brake repair. If a cable, wheel, or brake pad needs adjustment or replacement, have it handled by a mobility equipment professional, clinician, or qualified repair provider.
Rollator brakes in 30 seconds: what they do and what they do not do
A rollator is a wheeled walker with hand brakes and, on most 4-wheel models, a built-in seat. The brakes are used for controlled stopping while walking and for locking the rollator in place before transfers, sitting, or standing. They are not designed to stop a fast downhill coast, hold body weight on a steep ramp, or make an unsafe walking surface safe.
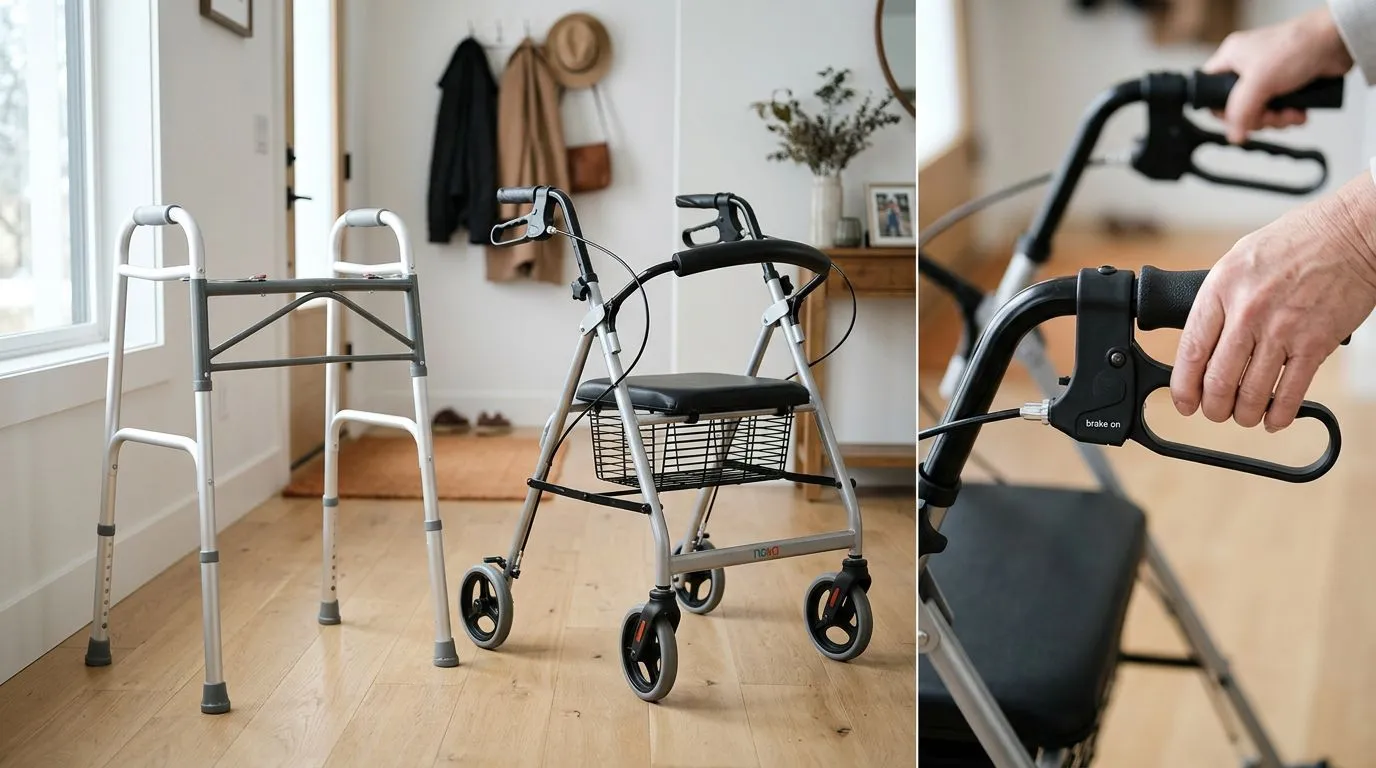
This is one key difference between rollators and walkers. A standard walker or folding walker usually has no wheels, so it stops when all four legs touch the floor. A two-wheel walker has front wheels but no hand brakes; the rear legs or glide tips create stopping friction. A rollator has 3 or 4 wheels, which means brake condition and brake habits matter every day.
| Device type | How it stops | Seat included | Best safety focus |
|---|---|---|---|
| Standard or folding walker | Frame is lifted and placed; no hand brakes | No | Stable placement and correct height |
| Two-wheel walker | Rear legs or glide tips resist movement | No | Avoid pushing too far ahead |
| 3-wheel rollator | Hand brakes on rolling wheels | Usually no full seat | Turning control and brake grip |
| 4-wheel rollator | Hand brakes plus parking locks | Usually yes | Locking before sitting or standing |
| Upright rollator | Hand brakes, often with forearm supports | Often yes | Posture, reach, and brake access |
The 60-second rollator brake safety checklist
Use this 60-second check before leaving home, after loading the rollator into a car, and anytime the brakes feel different. It is quick enough to become routine and specific enough to catch common problems.
- Check both levers. Squeeze the left and right brake levers. Each one should move smoothly and spring back when released.
- Test stopping grip. Stand behind the rollator, hold both handles, squeeze both brakes, and gently try to roll it forward. The wheels should resist movement.
- Check parking locks. Push both brake levers down into the locked position. Gently try to move the rollator forward and backward.
- Look at the wheels. Remove leaves, hair, strings, or grit that may interfere with wheel rotation or brake contact.
- Listen for changes. Scraping, grinding, squealing, or clicking can point to dirt, wear, or misalignment.
- Compare sides. If one side stops later than the other, the rollator may pull during braking.
- Confirm the seat is safe to use. On a seated rollator, both parking brakes must be locked before anyone sits.
If the rollator moves easily with both parking locks engaged, do not rely on it for sitting. That is a service issue, not a normal quirk.
How to stop safely in 3 steps
Stopping a rollator is not the same as stopping a shopping cart. A rollator is part of your balance system, so early, smooth braking is safer than sudden grabbing.
1. Slow your steps first
Shorten your stride before you need to stop. Keep the rollator close enough that your elbows are slightly bent, not locked straight. If the rollator is more than about 12 inches ahead of your toes, it can pull your body forward when you brake.
2. Squeeze both brakes evenly
Use both hands at the same time. Squeezing only one brake can cause the rollator to veer, especially on tile, polished concrete, or a sloped driveway. People with arthritis, numbness, or reduced grip strength should be especially careful to check whether both hands can operate the levers reliably.
3. Stop before turning, reaching, or opening doors
Many falls happen during the extra movement after walking: turning toward a chair, reaching into a cabinet, backing up to a toilet, or pulling open a heavy door. Brake first, get balanced, then move one step at a time.
On ramps or hills, slow down before the slope gets steep. Rollator brakes help control speed, but they are not downhill speed-control systems. If a ramp feels like it is pulling you, pause and ask for assistance rather than riding the brakes.
How to lock parking brakes before sitting: 4 checks
Most seated rollators use the same brake levers for walking brakes and parking locks. You squeeze up to slow down and push down to lock. Before sitting, use these 4 checks every time.
- Both locks are fully engaged. You should feel or hear each lever settle into the locked position.
- The rollator does not roll. With both locks on, gently nudge the frame forward and backward before turning to sit.
- The seat faces a safe direction. Sit on the rollator seat only when the surface is level and the rollator is not angled toward a step, curb, threshold, or ramp.
- Your body is close before you lower. Back up until you feel the seat at the back of your legs, then reach as instructed by your clinician or caregiver.
Never sit while the rollator is moving, even slowly. Do not use a rollator seat as a transport chair unless the device is specifically designed for that purpose and a clinician has confirmed it is appropriate. A typical rollator seat is for resting, not for being pushed around with someone seated on it.
How to test brake grip in 2 locations: home and slope
A good brake test uses both a flat surface and a mild incline. You do not need tools, and you should not disassemble anything.
Flat indoor test
Choose a dry, level floor with room to stand safely. Lock both brakes, hold the handles, and gently try to move the rollator forward. Then release the locks, squeeze both hand brakes, and repeat the test. The rollator should resist movement with both systems.
Mild outdoor slope test
Use only a gentle slope, such as a short driveway or building entrance ramp. Stand uphill from the rollator, keep both hands on the handles, and test whether the brakes slow and hold as expected. If the rollator creeps with the parking locks on, do not sit on it on that surface.
Surface matters. Rubber tires may grip differently on carpet, wet tile, gravel, asphalt, and smooth medical-office flooring. A brake that feels acceptable on carpet may feel weak on a hard floor because the wheels roll more freely. Wet leaves, ice, and loose gravel can reduce control even when the brake mechanism itself is working.
Cable, wheel, and handle warning signs to check every 7 days
Once a week, take 2 or 3 minutes to look for signs that the brake system needs attention. Many rollators use brake cables that run from the hand levers down to the rear wheels. Over time, cables can stretch, kink, loosen, or collect grime near the braking area.
- The lever touches the handgrip before the wheel stops. This often means the brake is not engaging soon enough.
- One lever feels looser than the other. Uneven brake feel can make the rollator pull to one side.
- The parking lock will not stay down. A lock that pops out is unsafe for sitting or transfers.
- The wheel keeps turning with the brake squeezed. This is a stop-use warning.
- The cable is frayed, sharply bent, or exposed. Do not tape it and keep using it as if repaired.
- The wheel surface looks slick or worn flat. Brake contact depends partly on wheel condition.
- The handles twist or feel loose. Poor handle stability can affect brake control and steering.
This guide does not recommend home brake adjustment because designs vary. A small turn on one rollator may have a different effect on another. If you see any of these signs, label the rollator for limited or no use and arrange service.
Who is best served by a rollator with hand brakes: 5 common situations
A rollator can be a good fit for someone who walks independently but needs rolling support, frequent rest breaks, or help carrying small personal items. The seat, wheels, and hand brakes can support community mobility when the user has enough balance, awareness, and hand function to control the device.
A walker may be safer for someone who needs more stability and does not need a built-in seat. A standard walker has no rolling wheels to control. A two-wheel walker can be easier to manage than a rollator for short indoor distances because it rolls less freely.
| Person or situation | Often better match | Why brakes matter |
|---|---|---|
| Needs maximum stability and moves slowly indoors | Standard or folding walker | No hand brakes to operate |
| Needs some rolling help but not a seat | Two-wheel walker | Rear legs slow the frame naturally |
| Walks outdoors and needs rest breaks | 4-wheel rollator | Parking brakes must hold before sitting |
| Navigates narrow spaces and can turn safely | 3-wheel rollator | Requires good control because there is less base width |
| Prefers a more upright posture | Upright rollator | Brake levers must be reachable without leaning |
| Requires higher weight capacity | Bariatric rollator or heavy-duty walker | Brakes, frame, seat, and wheels must all match capacity |
If there is any question about balance, cognition, vision, dizziness, or hand strength, ask a physical therapist, occupational therapist, or prescribing clinician to observe real use. The best device is the one the person can control consistently, not just the one that looks convenient.
How to choose and measure brake-friendly rollator fit in 5 minutes
Brake safety starts with fit. If the handles are too high, shoulders rise and grip control suffers. If the handles are too low, the user may lean forward and push the rollator too far ahead.
A common starting point is handle height near the wrist crease when the user stands upright in regular walking shoes with arms relaxed at the sides. When holding the grips, the elbows should have a slight bend, often around 15 to 20 degrees. This is a guideline, not a substitute for a professional fitting.
- Check reach to the levers. Fingers should wrap the brake levers without stretching or shifting the whole hand forward.
- Check hand comfort. A person with limited grip strength may need larger, easier-to-reach levers, but the brake still must lock securely.
- Check seat height. Many rollator seats are roughly chair height, but even a 2-inch difference can change how easy it is to sit and stand.
- Check width at home. Measure tight doorways, bathroom paths, and hallway turns. Some rollators are wider than compact walkers.
- Check total weight. Lighter frames may be easier to lift into a car, while heavier-duty frames may offer higher capacity. Common rollator capacities often range around 250 to 300 pounds, with bariatric versions rated higher.
- Check wheel size. Smaller 6-inch wheels can suit smoother indoor floors, while 8-inch or larger wheels are often easier over outdoor seams and rougher surfaces.
Fit also affects brake habits. If the user has to lean, twist, or look down to find the levers, stopping will be slower during real-life distractions.
Brake habits that reduce falls during daily trips: 10 practical rules
Most brake-related falls are not caused by one dramatic mistake. More often, they come from small shortcuts repeated over weeks: sitting without locking, braking with one hand, rushing through thresholds, or using the rollator on surfaces it was not meant to handle.
- Lock before sitting, every time. Make it automatic, even for a 30-second rest.
- Lock before standing. A rollator can move backward as you push up if the brakes are not set.
- Use both brakes together. One-sided braking can turn the frame.
- Keep the rollator close. Your feet should step within the frame area, not far behind it.
- Slow down before thresholds. Door sills, elevator gaps, and curb cuts can catch wheels.
- Avoid carrying heavy bags on the handles. Extra weight can affect steering, tipping risk, and brake control.
- Do not park on a slope to sit. Even locked brakes may not hold safely on an incline.
- Dry the grips if they are wet. Slippery hands make brake control less reliable.
- Turn in small steps. Do not twist your body while the rollator rolls ahead.
- Retest after travel. Folding, lifting, or loading into a vehicle can jostle cables and handles.
Caregivers can help by watching for patterns. If the user forgets the parking locks or cannot squeeze both brakes, the answer may be training, a different mobility aid, or a professional reassessment.
When to stop using it and get help within 24 to 48 hours
Some brake concerns are urgent. Stop using the rollator for sitting immediately if the parking brake slips, one brake does not engage, a wheel keeps turning under braking, or a cable is frayed. If the rollator is the only mobility aid available, contact a clinician, equipment supplier, repair provider, or caregiver the same day for a safer temporary plan.
Seek prompt medical or therapy guidance if brake problems are paired with new falls, near falls, dizziness, weakness, confusion, vision changes, or a major change in walking. The issue may not be the rollator alone.
A rollator can support independence when it fits well and the brakes work reliably. Treat brake checks the way you would treat buckling a seat belt: a small routine that protects every trip.
FAQ
Frequently asked questions
How often should I test my rollator brakes? +
Do a quick brake test before each outing and a more careful check once a week. Also retest after the rollator has been folded, transported in a car, used in rain, or bumped against a curb.
Is it safe to sit on a rollator if only one parking brake locks? +
No. Both parking brakes should lock and hold before you sit. If one side slips or will not stay locked, do not use the seat until the rollator has been checked and serviced.
Why does my rollator pull to one side when I brake? +
A rollator may pull if one brake engages sooner or grips harder than the other. Uneven tire wear, cable tension, debris, or a loose handle can contribute. Stop using it for risky situations and have it inspected.
Can I adjust rollator brake cables myself? +
Some rollators have adjustable brake cables, but designs vary. For safety, this article recommends user checks rather than repair instructions. If the brake lever feels loose, touches the grip, or fails to stop the wheel, get qualified service.
Do standard walkers have brakes like rollators? +
Usually, no. Standard walkers and many folding walkers stop because their legs contact the floor. Two-wheel walkers typically rely on the rear legs or glides for friction. Rollators have wheels, hand brakes, and often parking locks.
Are rollator brakes supposed to hold on ramps? +
Rollator brakes may help control movement on a gentle slope, but you should not rely on them for sitting or parking on a ramp. If a slope makes the rollator creep or pull you forward, avoid it or ask for assistance.
Keep reading
Related guides
Hand Brakes, Push-Down Brakes, or No Brakes: Walker and Rollator Braking Options Explained
13 min read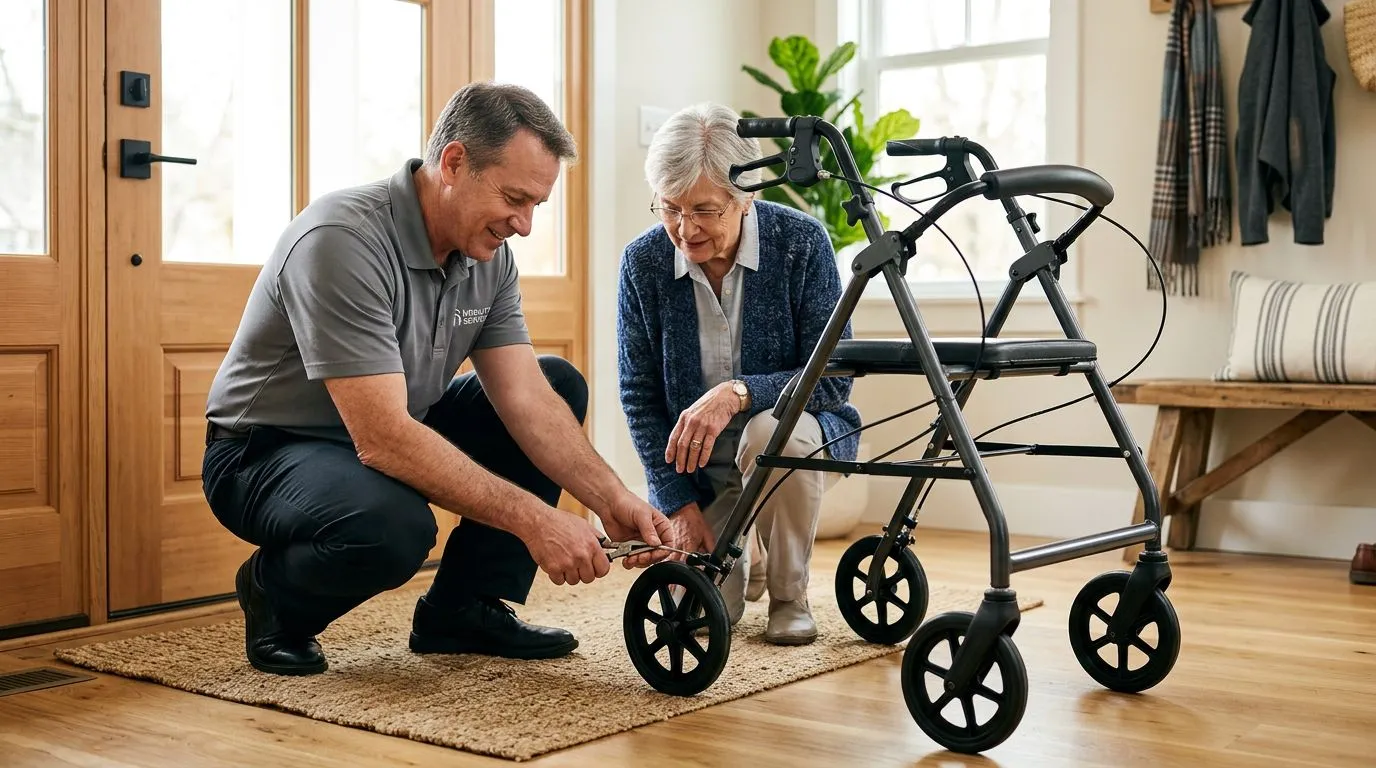
Why Your Rollator Brakes Still Slip After Adjustment
14 min read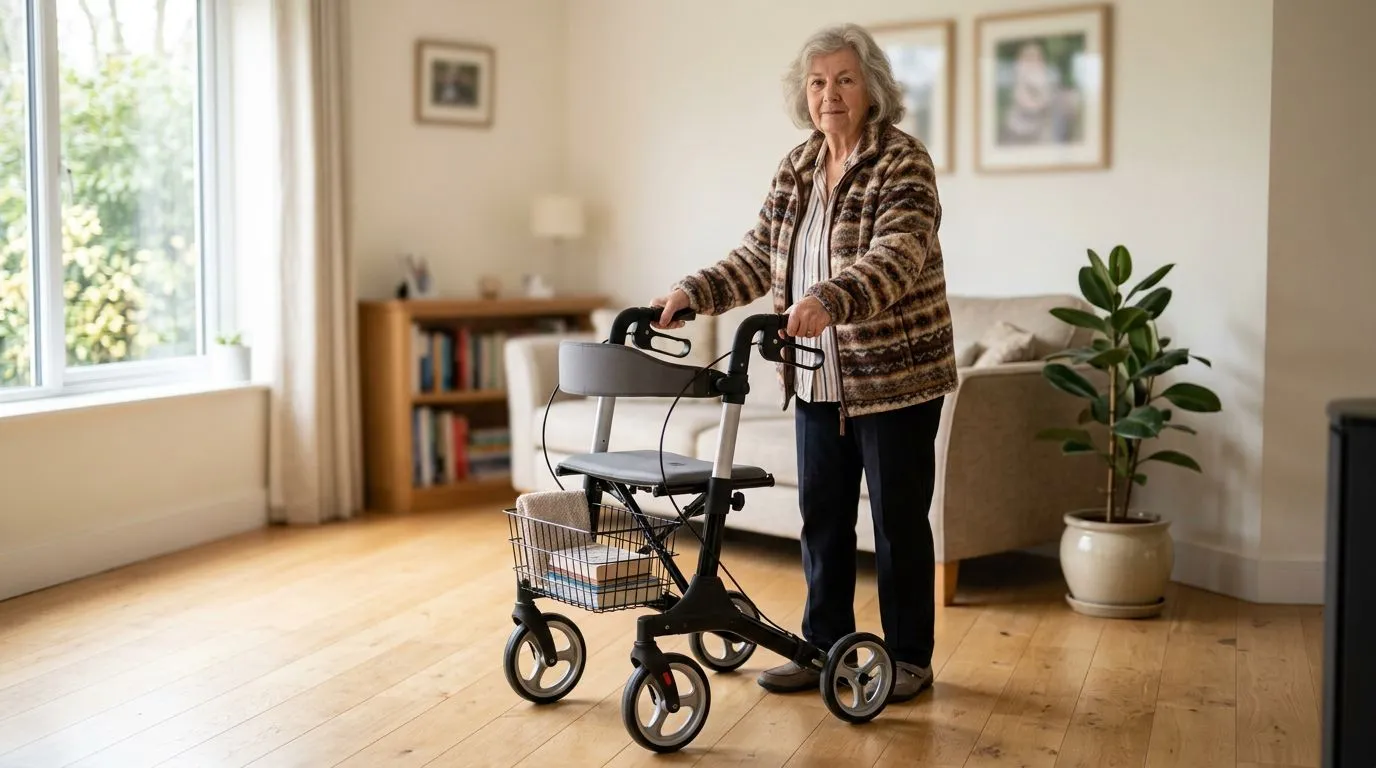
Rollator Seat Safety: How to Sit, Stand, and Lock the Brakes the Right Way
13 min read