Disclosure: We may earn a commission when you buy through links on this page, at no extra cost to you. We buy nothing, sell nothing and accept no payment for coverage — commissions never decide what we recommend. How we make money.
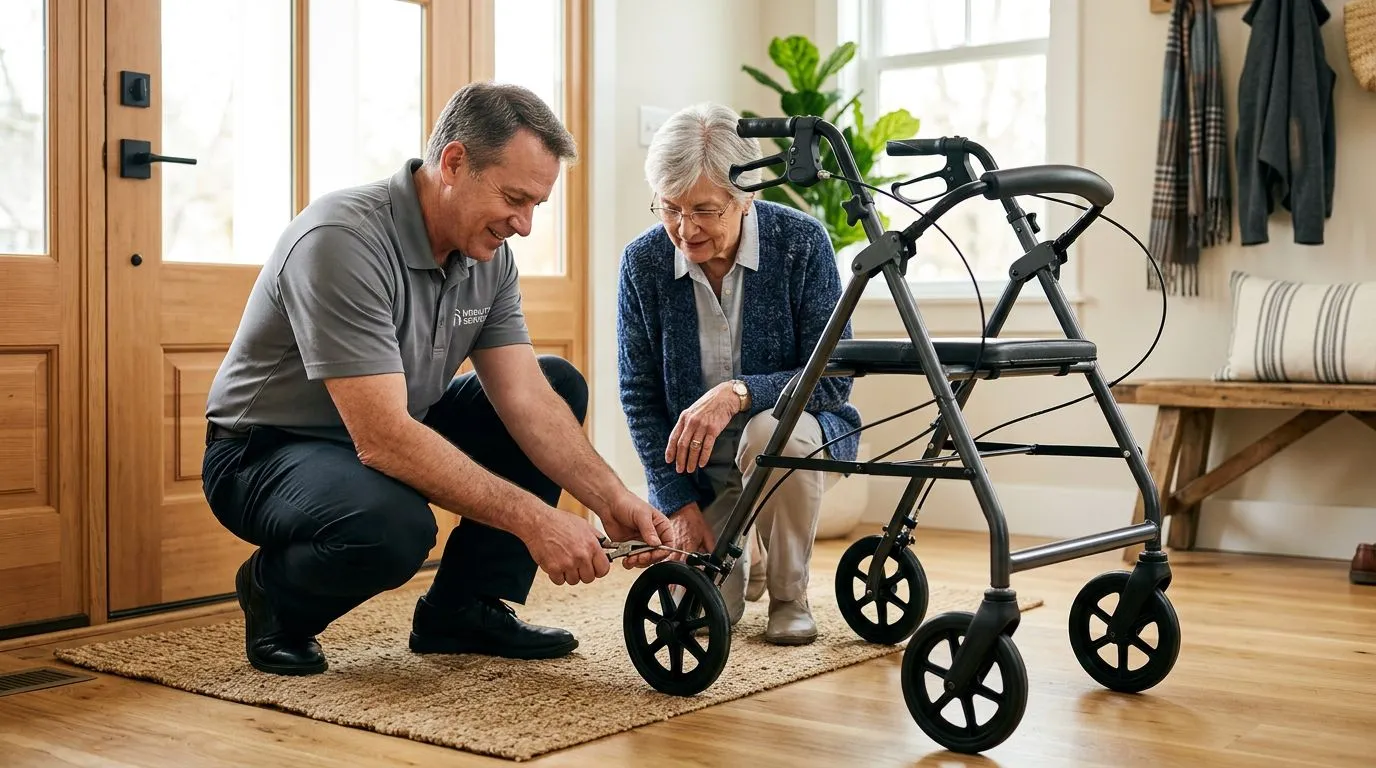
If your rollator brakes still slip after adjustment, the issue is usually more than simple cable tension. Worn wheels, stretched brake cables, dirty brake surfaces, loose hardware, or limited hand strength can all prevent the brake from gripping, even after the adjuster has been tightened. Stop using the rollator on ramps, curbs, or for seated rest until the brakes hold reliably on a level floor.
A rollator differs from a standard walker because it has wheels, hand brakes, and usually a built-in seat. That makes brake condition a core safety issue, not a minor comfort feature. The guide below explains what to check, what you may be able to correct at home, and when professional repair or replacement is the safest next step.
Start with 1 safety test before any more adjusting
Before turning another knob or barrel adjuster, do a basic hold test on a clean, dry, level floor. Stand beside the rollator, squeeze both hand brakes fully, and gently try to push the frame forward 6 to 12 inches. Then press the brake handles down into the parking-lock position and repeat the same gentle push.
If either rear wheel turns, skids unevenly, or releases from the locked position, treat the rollator as unsafe for slopes and seated use until the problem is fixed. A brake that slips during a 10-second indoor test may perform worse on a ramp, wet sidewalk, or driveway.
Do not test by sitting down first. Rollator seats should be used only when both parking brakes are locked and the wheels are stable. If the rollator moves while you are lowering yourself, the fall risk is immediate.
- Test both service braking and parking-lock braking.
- Use a dry indoor surface, not carpet or gravel.
- Check the left and right brake separately.
- Stop if a cable frays, a handle feels loose, or a wheel wobbles.
Rollator brakes are not the same as walker support: 4 key differences
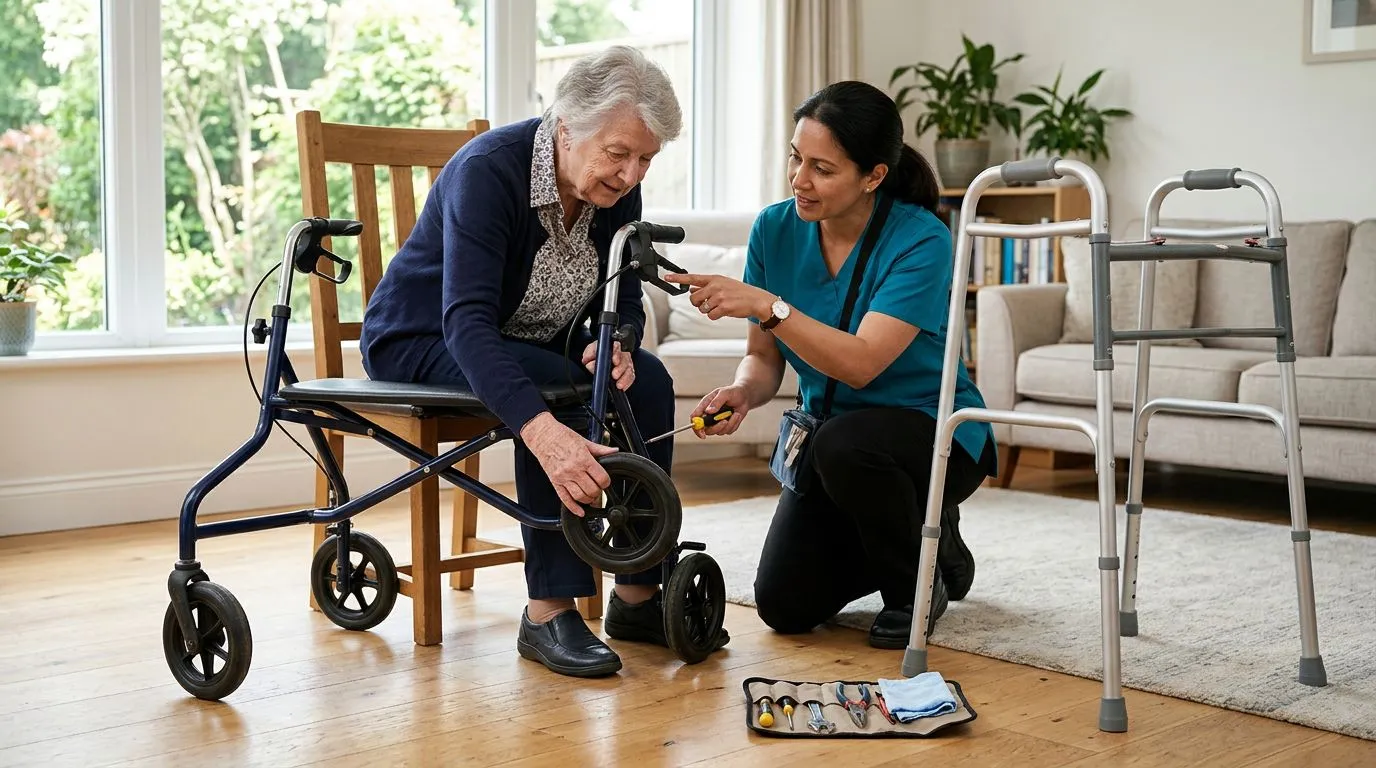
A standard walker, folding walker, or no-wheel walker frame does not rely on hand brakes because the frame is lifted or placed with each step. A two-wheel walker may have front wheels and rear glide tips, but many do not have bicycle-style hand brakes. A rollator, in contrast, rolls continuously on 3 or 4 wheels and uses hand brakes to control speed, stop movement, and lock the frame for sitting.
That difference matters. With a walker, stability comes mostly from the frame contacting the ground. With a rollator, stability depends on the frame, wheel condition, brake hardware, and the user’s ability to squeeze and lock the brake handles. A person who needs firm weight-bearing support may be safer with a standard or two-wheel walker, while someone who needs a seat for short rests and can manage hand brakes may prefer a rollator.
| Device type | Typical brake setup | Best fit |
|---|---|---|
| Standard or folding walker | No hand brakes; frame contacts floor | People who need maximum stable support and can lift or advance the frame |
| Two-wheel walker | Usually front wheels with rear tips or glides; often no hand brakes | People who need easier forward movement but still want a slower frame |
| 3-wheel rollator | Hand brakes on rear wheels; no full-width seat on many designs | People who want tight turning in narrow spaces and do not need a large seat |
| 4-wheel rollator | Hand brakes plus parking locks; commonly includes a seat | People who can control rolling speed and need a place to rest |
| Upright or bariatric rollator | Hand brakes with taller handles or higher weight capacity | People needing a more upright posture or a reinforced frame within the rated limit |
Why adjustment fails: 7 causes that tension cannot fix
Most rollator brakes use a cable connected to a brake shoe, pad, or clamp near the rear wheel. Adjusting the brake usually shortens the cable path so the brake contacts sooner. That helps only when the cable has mild slack and the rest of the system is in good condition.
If the contact surface is worn, slick, misaligned, or mechanically loose, a tighter cable can make the handle feel firmer without adding real stopping power. That is why someone may adjust the brake twice and still feel the rollator creep forward.
| What you notice | Likely cause | What to check first |
|---|---|---|
| Brake handle feels tight, but wheel still rolls | Worn wheel tread or slick brake surface | Rear wheel contact area |
| Handle pulls all the way to the grip | Stretched cable or loose cable anchor | Cable tension and set screw area |
| Only 1 side slips | Uneven adjustment, bent bracket, or worn wheel | Compare left and right brake movement |
| Parking lock clicks, then releases | Weak lock mechanism or handle wear | Brake handle pivot and locking notch |
| Brake works indoors but slips outside | Dirt, moisture, slope, or tire wear | Wheel tread and brake contact surface |
| Brakes squeak or grab unevenly | Debris or glazed surface | Clean and inspect the brake area |
Check worn wheels after 12 months of regular outdoor use
Wheel wear is one of the most commonly missed reasons rollator brakes keep slipping. Many brake systems rely on firm contact with the outer wheel surface. If that surface is worn smooth, uneven, cracked, or flattened, the brake has less material to grip.
Look closely at both rear wheels. A healthy wheel should have an even surface with no deep cuts, shiny slick patches, or flat spots. If one wheel is visibly smaller than the other or rocks from side to side, the brake may not meet it squarely. Even a small change, such as 1/8 inch of uneven wear at the contact area, can affect how firmly the brake shoe lands.
Outdoor use speeds up this wear. Sidewalk grit, parking lots, rough concrete, and small stones can wear rollator wheels faster than smooth indoor flooring. Heavier daily use, higher body weight within the frame rating, and frequent braking on slopes can also shorten wheel life.
- Inspect rear wheels every 30 days if the rollator is used outdoors.
- Compare the left and right wheel surfaces by sight and touch.
- Look for wobble at the axle when the wheel is spun by hand.
- Replace worn wheels or seek service if the brake contact area is damaged.
Clean dirty brake surfaces in 5 minutes
Dirt can defeat a correct adjustment. Dust, sand, pet hair, dried mud, lotion residue, and light oil from garages or parking areas can coat the wheel or brake shoe. Once the surface is slick, the brake may slide instead of gripping.
Start with a dry cloth. Wipe the rear wheel where the brake makes contact, then wipe the brake shoe or pad area. If the surface is still grimy, use a slightly damp cloth with mild soap, then dry it completely before testing. Avoid spraying lubricant near the brake, wheel tread, or cable anchor. Lubricant may quiet a squeak temporarily, but it can also make the brake slip more.
Some squeaks come from dirt, not from a part that needs oil. If cleaning reduces noise and improves stopping, make it part of routine care. A 5-minute wipe-down once a week can prevent a surprising number of brake complaints.
Look for stretched cables, frays, and a 1/4-inch handle gap
Brake cables can stretch with use, especially when the rollator is parked and released many times a day. Cable housing can also compress or shift. When that happens, the hand brake may pull too far before the brake shoe reaches the wheel.
A practical check is the handle gap. With the brake released, squeeze the brake handle slowly and watch when the brake begins to contact the wheel. If the handle nearly touches the hand grip before braking begins, there is too much slack or a worn component. Many users should feel braking start well before the handle bottoms out, often with at least about 1/4 inch of remaining space between the handle and the grip when squeezed firmly.
Inspect the cable as well. Fraying looks like tiny broken wires near the handle, along the cable run, or at the lower brake mechanism. A frayed cable can fail suddenly. A kinked housing can also prevent smooth movement, making the brake feel stiff one moment and weak the next.
- Do not keep tightening a visibly frayed cable.
- Check that the cable end is seated correctly in the handle.
- Make sure the outer housing is not pulled out of its stop.
- Watch both brakes move at the wheel while squeezing both handles.
Recheck adjustment at 2 points, not just the handle
Many rollators allow adjustment near the brake handle, near the lower brake assembly, or both. Turning only the upper adjuster may not solve the problem if the lower cable anchor has slipped. On some designs, the small locknut must be tightened after adjustment so vibration does not undo your work.
Make small changes. Turn the adjuster 1 or 2 full turns, then test. The goal is not to make the brake drag all the time. A brake that rubs continuously can wear the wheel faster and make the rollator harder to control.
After adjustment, spin each rear wheel while the brake is released. The wheel should rotate freely without constant scraping. Then squeeze the brake and confirm that the wheel stops. Finally, press the handle into the parking-lock position and verify that the wheel stays held during a gentle push.
If the brake alternates between rubbing and slipping, the adjustment range may be used up. That points to wheel wear, cable stretch, a bent bracket, or a worn brake shoe rather than a simple tension issue.
Consider hand strength if the brake needs more than 10 pounds of squeeze
Sometimes the rollator brake is mechanically capable of stopping, but the user cannot comfortably apply enough force. Arthritis, hand pain, numbness, stroke effects, tremor, or general weakness can make loop brakes difficult to squeeze or push down into the parking lock. This is not a personal failure. It is a fit and safety issue.
Notice whether the brakes hold when a caregiver squeezes them but slip during normal use by the primary user. Also watch for signs of strain: using both hands on one brake, not fully locking before sitting, or avoiding the brakes on small slopes. A brake system that requires a hard squeeze may be unsafe for that person even if it passes a shop test.
Handle height can make the problem worse. If the rollator handles are too high, the wrists may bend awkwardly and reduce grip control. If the handles are too low, the user may lean forward and pull at a poor angle. A common starting point is to set handles near wrist crease height when the user stands upright in supportive shoes, arms relaxed at the sides. Many rollators adjust in 1-inch increments, so test the closest comfortable setting.
- Check whether both hands can squeeze and lock the brakes without pain.
- Adjust handle height before judging brake control.
- Ask a clinician or mobility professional about options if grip strength is limited.
- Do not compensate by walking faster to keep up with a rolling frame.
Who can troubleshoot at home, and who should get help within 24 hours
At-home troubleshooting is reasonable when the rollator is otherwise stable, the cables are intact, the wheels are not badly worn, and the user can avoid risky surfaces while testing. Cleaning the brake surface, checking handle height, and making small cable adjustments are common maintenance steps.
Get help promptly if the rollator is needed every day and the brake fails a basic level-floor test. The urgency is higher if the user lives alone, transfers to the seat often, navigates ramps, or has had a fall in the past 6 months. In those situations, waiting a week can create unnecessary risk.
| Situation | At-home check | Better next step |
|---|---|---|
| Light dirt on wheels | Clean and retest | Continue monthly inspection |
| Minor cable slack | Adjust 1 or 2 turns | Retest service and parking brakes |
| Frayed cable | Stop using for seated rest | Professional repair or cable replacement |
| Cracked or loose wheel | Do not rely on brake | Wheel replacement or service evaluation |
| Brake handle will not lock | Do not sit on rollator | Repair help before further use |
| User cannot squeeze brakes comfortably | Check height and technique | Professional fitting or alternate mobility aid discussion |
How to measure fit and brake control in 3 simple checks
Brake problems are sometimes blamed on parts when the real issue is setup. A rollator that is too tall, too short, too wide for the home, or too heavy to control can make braking inconsistent. Measuring fit takes only a few minutes.
First, check handle height. Have the user stand in the shoes normally worn for walking. With arms relaxed, the top of the hand grip should be near the wrist crease. A small bend in the elbow, often around 15 to 30 degrees, is typical when the hands rest on the grips.
Second, check reach to the brake handles. The fingers should wrap the brake lever without stretching. If the user can only catch the lever with fingertips, the brake may not be applied fully. If the hands hurt after a short walk of 5 minutes, the grip shape, handle height, or brake resistance may be a poor match.
Third, check the environment. Measure tight doorways, bathroom turns, and hallway corners if the rollator is hard to stop indoors. A frame that barely clears a 28-inch doorway can be difficult to control, especially when turning and braking at the same time.
When replacement may be safer after 2 failed repairs
Repair is often worthwhile for a good rollator with replaceable wheels, cables, and brake parts. Even so, repeated adjustment is not always enough. If the same brake slips after 2 careful adjustments or a recent repair, look at the whole device rather than chasing the cable again.
Consider replacement or a professional reassessment if the frame is bent, the seat support is loose, the wheels wobble, or replacement parts are not available. Also consider whether the rollator still matches the user. A person who now needs more weight-bearing support may do better with a standard walker or two-wheel walker. A person who still benefits from a rollator may need a different type, such as a 4-wheel rollator with easier-to-reach brakes, an upright rollator with proper fitting, or a bariatric rollator rated for the user and carried items.
Weight capacity deserves attention. Many standard rollators are rated somewhere around 250 to 350 pounds, while bariatric designs may be rated higher. The correct choice should include the user, clothing, and anything carried in the storage pouch or basket. Staying within the stated capacity helps protect the frame, wheels, and brake system.
| Feature to compare | Why it affects braking | What to look for |
|---|---|---|
| Wheel size | Larger wheels may roll over outdoor cracks more easily | Match indoor or outdoor use; common sizes include 6 to 10 inches |
| Brake handle reach | Short reach helps users with smaller hands or stiffness | User can squeeze and lock without pain |
| Frame weight | Very light frames may feel easier to lift but can be harder for some users to steady | Balance transport needs with control |
| Seat height | Sitting safely requires locked brakes and stable foot contact | Feet rest flat when seated |
| Weight capacity | Overloading stresses wheels, frame, and brakes | Choose a rating above total expected load |
Prevent repeat brake slip with a 30-day maintenance routine
Rollator brakes are easier to maintain than to rescue after months of wear. A simple 30-day routine can catch problems before the device feels unsafe. People who use a rollator outdoors daily may want to inspect more often, especially after rain, mud, or rough sidewalks.
- Wipe rear wheels and brake contact surfaces.
- Test both hand brakes and both parking locks on a level floor.
- Look for wheel cracks, flat spots, and side-to-side wobble.
- Check cables for fraying, kinks, or loose housing.
- Confirm handle height has not slipped from its marked setting.
- Listen for new scraping, clicking, or uneven brake noise.
Keep the rollator dry when possible. Store it away from oily garage floors and avoid hanging heavy bags from the handles, which can change control and stress the frame. If the brakes need frequent tightening, write down the date. Needing adjustment every few days is a sign of a deeper issue, not normal maintenance.
The main takeaway is simple: brake adjustment fixes slack, not worn or unsafe parts. If cleaning, correct fit, and careful adjustment do not restore a firm hold, the safest path is to have the rollator inspected by a qualified repair provider, medical equipment professional, or clinician familiar with mobility aids.
FAQ
Frequently asked questions
Why do my rollator brakes lock but the wheels still move? +
The parking lock may engage the handle without creating enough grip at the wheel. Common causes include worn wheel tread, a slick brake contact surface, stretched cables, a bent brake bracket, or a worn locking mechanism.
Can I tighten rollator brakes myself? +
Many rollators allow small cable adjustments at the handle or lower brake assembly. Make changes gradually, test both the hand brake and parking lock, and stop if you see frayed cables, loose hardware, wheel damage, or continued slipping.
How often should rollator brakes be checked? +
For regular use, check the brakes at least every 30 days. If the rollator is used outdoors daily, on ramps, or in wet or gritty conditions, inspect the wheels and brake surfaces more often.
Is it safe to use a rollator if one brake slips? +
It is not safe to rely on a rollator with one slipping brake for slopes, transfers, or sitting. A rollator needs both brakes working evenly to control speed and keep the frame stable when parked.
Do worn wheels affect rollator braking? +
Yes. Many rollator brakes grip the rear wheel surface directly. If the wheel is smooth, cracked, uneven, or wobbling, the brake may slide even when the cable has been tightened correctly.
Should I replace the brake cable or the whole rollator? +
If the frame and wheels are sound and compatible parts are available, cable replacement may solve the problem. If the frame is bent, wheels are worn, brakes have failed repeatedly, or the device no longer fits the user, professional evaluation or replacement may be safer.
Keep reading
Related guides

Rollator Brake Safety Checklist: How to Stop, Lock, Test, and Avoid Brake-Related Falls
11 min read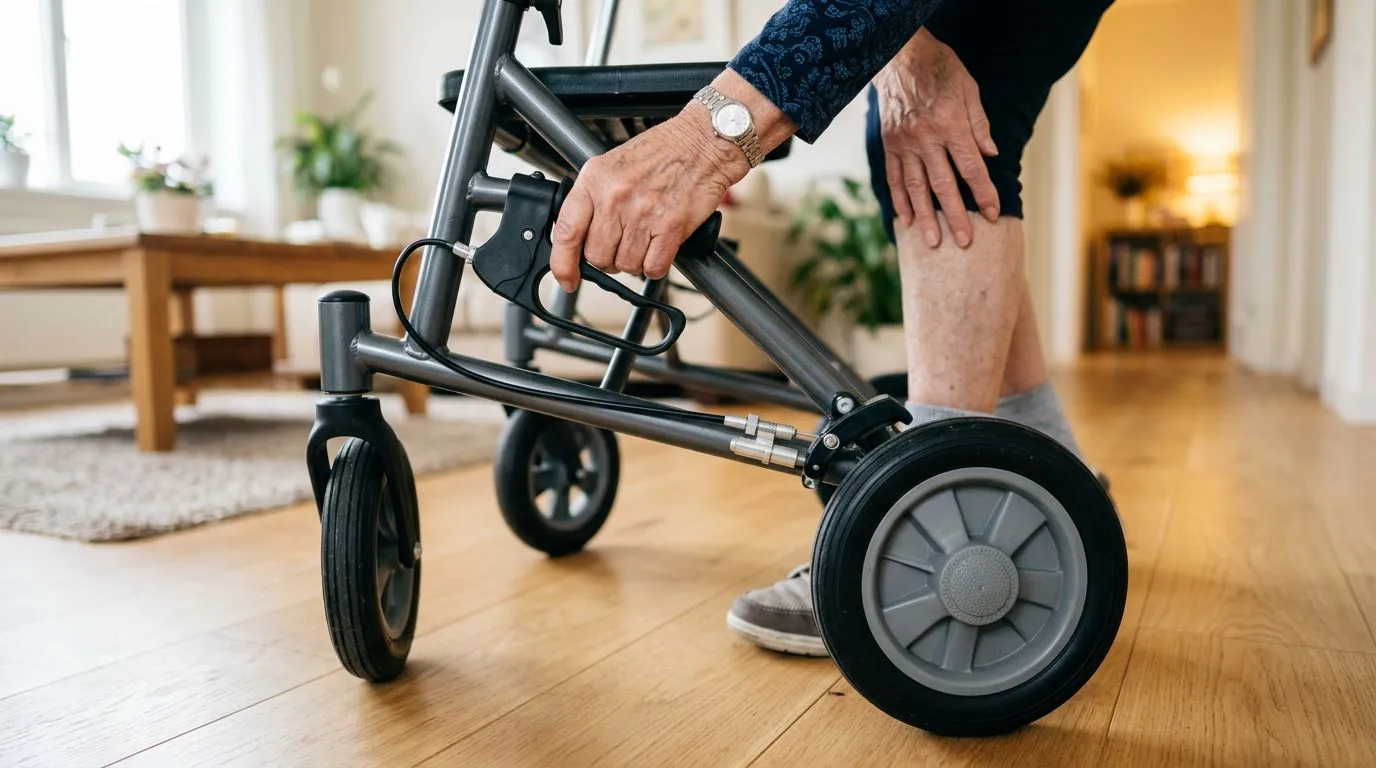
Rollator Brake Cable Problems: Signs Your Brakes Need Adjustment, Repair, or Replacement
13 min read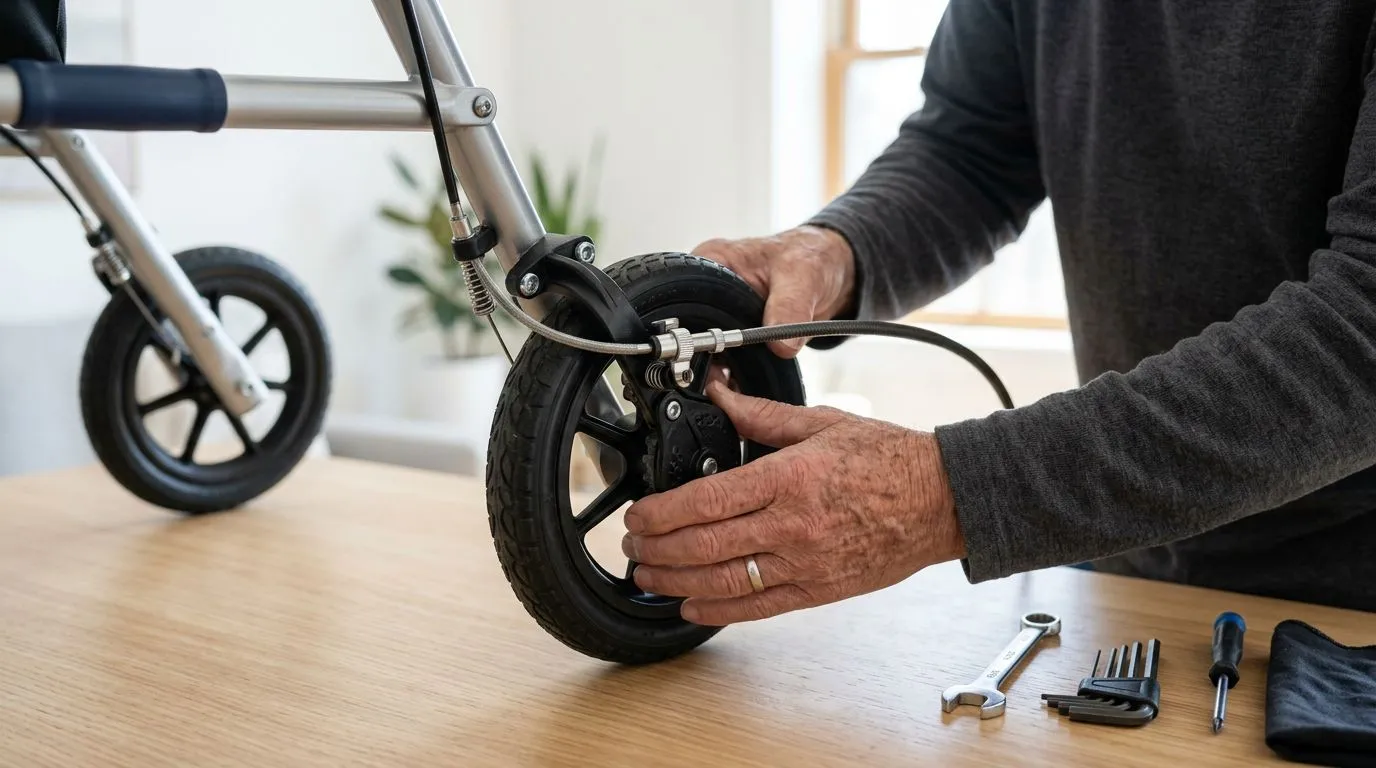
Rollator Brake Cables and Replacement Brake Parts: What to Know Before You Repair or Replace
13 min read